Reading time: 8 minutes
The smell of a perfectly seared roast can turn a simple meal into a feast. I remember watching my grandfather sear a bottom round roast. His hands moved with skill, showing years of cooking experience. This moment sparked my love for searing and smoking meat.
Cooking is both an art and a science. Searing a roast is more than just cooking a meal. It’s about creating a sensory experience. The sizzle, caramelization, and crust are key to making your meat stand out.
Whether you’re deciding to sear before or after smoking, this guide will walk you through the essentials for achieving the perfect roast every time.
Table of contents
Why Searing is Important When Smoking a Roast
Turning a simple piece of meat into a masterpiece is all about searing. Searing a roast for smoking is key to adding amazing flavor and texture.
Searing is more than just heat on meat. It’s a science that makes your dish go from good to great.
For those curious about cuts, you may want to explore the best cuts of beef to smoke for maximizing the searing effect. Choosing the right cut can make all the difference.
The Science Behind Searing: Caramelization and Crust Formation
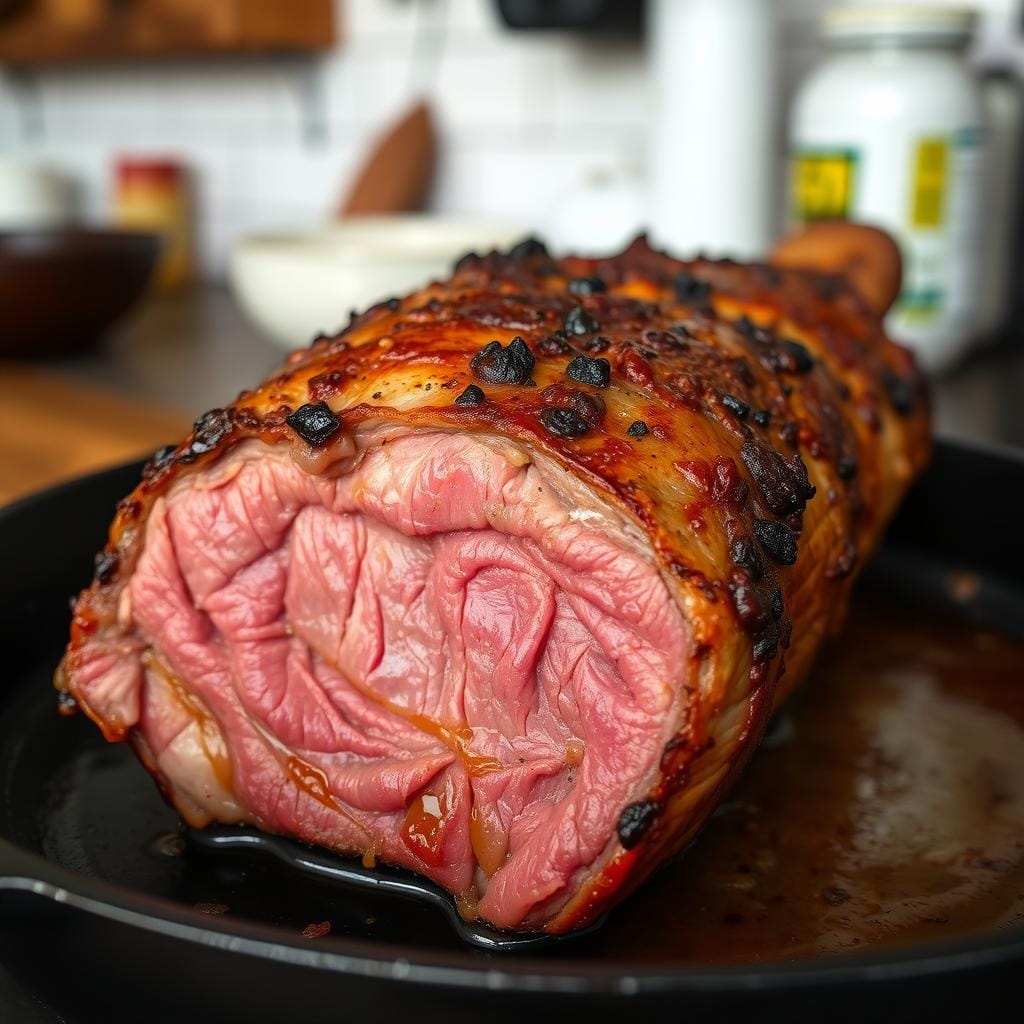
High-heat searing starts a magic transformation through the Maillard reaction. This creates a rich, brown crust that keeps moisture in and flavors intense. Caramelization in meat searing is not just about looks – it’s about taste.
- Crust formation during searing develops complex flavor profiles
- High-heat searing triggers chemical reactions that enhance taste
- Proper searing technique can dramatically improve meat texture
“Searing is the difference between a good roast and an exceptional one.” – Professional Chef
The secret to great searing is knowing temperature and technique. You aim for a deep, golden-brown exterior that seals in juices and adds flavor.
Mastering high-heat searing turns your smoked roast into a dish that wows everyone.
Benefits of Searing Roast Before Smoking
Getting a perfect smoked roast starts with key pre-smoking steps. Searing before smoking can make your dish amazing. It creates a tasty crust and keeps the juices in.
How Searing Locks in Juices
High-heat grilling for smoked roast is magic. It’s called the Maillard reaction. This process makes the meat’s surface caramelized, sealing in moisture and flavor.

Pre-Smoking Meat Preparation Tips
- Season meat 3-4 hours before smoking (24 hours ideal)
- Pat meat dry with paper towels for optimal searing
- Use kosher salt and fresh ground pepper
- Let meat rest at room temperature before searing
Tools for High-Heat Searing
| Tool | Best For | Temperature Range |
|---|---|---|
| Cast Iron Skillet | Even heat distribution | 400-450°F |
| Outdoor Grill | Large cuts of meat | 450-500°F |
| Propane Torch | Precise searing | Up to 2,000°F |
Ideal Cuts for Pre-Smoking Searing
Not all cuts are the same for searing. Ribeye, tri-tip, and prime rib are top choices. They have the right fat marbling for high-heat searing.
“The secret to an incredible smoked roast is mastering the pre-sear technique.” – Professional Pit Master
The goal is to make a delicious crust before slow smoking. Your patience and skill will make a roast that wows everyone.
For a deep dive into the preparation process, check out these smoked beef roast recipes for tips and pairing ideas.
Benefits of Searing Roast After Smoking
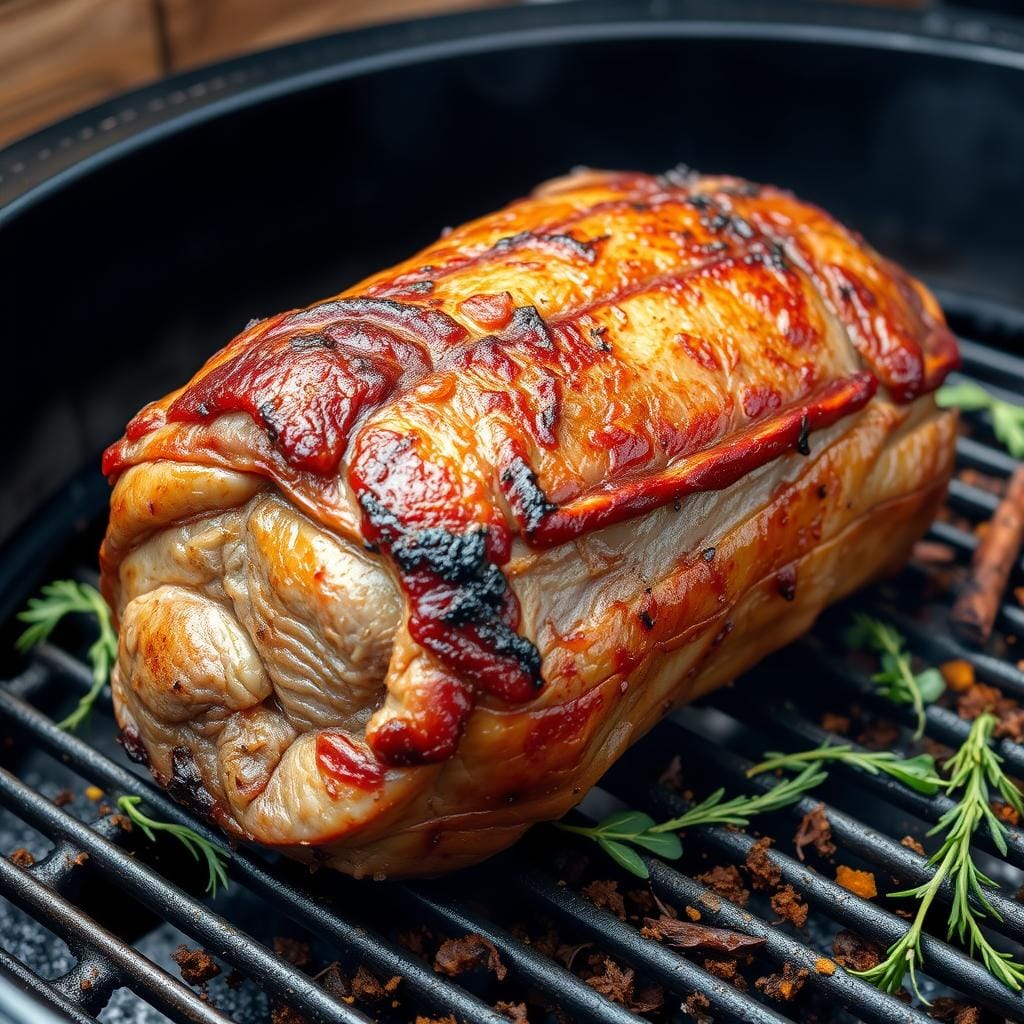
Learning to reverse sear a smoked roast can change your cooking game. It brings out amazing flavors and textures in your meat. This method makes the outside crispy and the inside perfectly cooked.
Enhancing Post-Smoking Roast Texture with Searing
After smoking, the texture of your roast is key. Searing it afterwards offers many benefits:
- Creates a crispy, caramelized exterior
- Locks in remaining moisture
- Develops deep, complex flavor profiles
- Allows precise control of doneness
Reverse Searing: A Step-by-Step Guide
To master reverse searing, pay close attention to every step. Smoke your roast to 120°F (49°C). Then, let it rest before searing it with high heat.
“The key to perfect reverse searing is patience and precision.” – Professional Chef
Timing Sear and Smoke for Roast Perfection
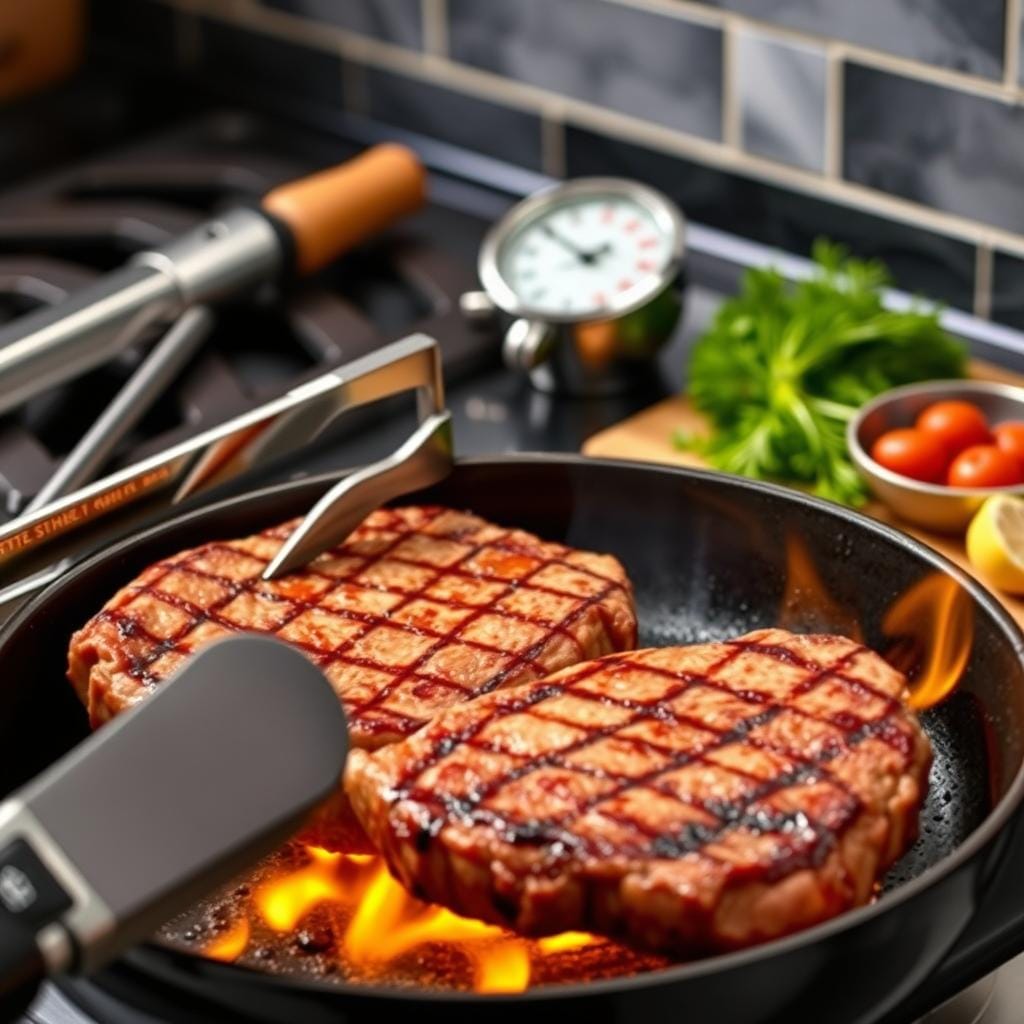
Getting the timing right for searing and smoking is all about temperature control. Use a cast iron skillet or a high-heat grill for that golden crust. Tri-tip roasts are perfect for this method.
- Smoke at low temperature (225°F)
- Remove when internal temp reaches 120°F
- Rest for 10-15 minutes
- Sear on high heat for 1-2 minutes per side
By following these steps, you’ll turn a simple roast into a dish that will wow everyone.
For more tips, you might explore the nuances of the searing vs. smoking debate, which delves into methods for flavor perfection.
Sear Before or After Smoking? A Detailed Comparison
Deciding when to sear your roast can greatly affect its taste and texture. Knowing the differences between searing before or after smoking helps make your roast more delicious and perfectly cooked.
Flavor and Texture Differences Between Methods
Exploring smoking and searing beef tips reveals two main methods: pre-smoking sear and post-smoking sear. Each has its own benefits for achieving the best results.
- Pre-Smoking Sear:
- Creates a protective flavor barrier
- Locks in initial moisture
- Develops initial caramelization
- Post-Smoking Sear:
- Provides precise temperature control
- Allows for more even crust formation
- Enhances final exterior texture
Common Mistakes to Avoid When Searing
Getting the timing right for searing roast is key. Here are some mistakes to steer clear of:
- Overcrowding the cooking surface
- Using low-heat environments
- Skipping meat drying before searing
- Moving meat too frequently during sear

Expert Opinions on Searing Timing
“The key is understanding your specific cut of meat and desired outcome. No single method works perfectly for every roast.” – Professional BBQ Chef
| Searing Method | Pros | Cons |
|---|---|---|
| Pre-Smoking Sear | Immediate moisture retention | Potential uneven internal cooking |
| Post-Smoking Sear | Precise temperature control | Risk of overcooking delicate meats |
Pro tip: Try both methods to find what works best for you and different cuts of meat.
How to Properly Sear a Roast
Searing a roast is an art that turns simple meat into a feast for the senses. It’s a skill that can make your cooking shine like a restaurant’s. The crust that forms during searing is key to this transformation.
Knowing the difference between indoor and outdoor searing is vital. Your choice of method can greatly affect the taste and texture of your roast.
Crust Formation During Searing: Tips and Techniques
To get a perfect crust, pay attention to a few important details:
- Use a super-hot cooking surface
- Pat meat completely dry before searing
- Season generously with salt and pepper
- Choose the right oil with high smoke point
Indoor vs. Outdoor Searing Methods: Pros and Cons
Pan-searing and grill-searing have their own benefits for home cooks. Here’s what you need to know:
| Searing Method | Pros | Cons |
|---|---|---|
| Indoor Pan-Searing | Better temperature control | Limited smoke ventilation |
| Outdoor Grill-Searing | Enhanced smoky flavor | Less precise heat management |
“The secret to a perfect sear is patience and high heat” – Professional Chef Recommendation
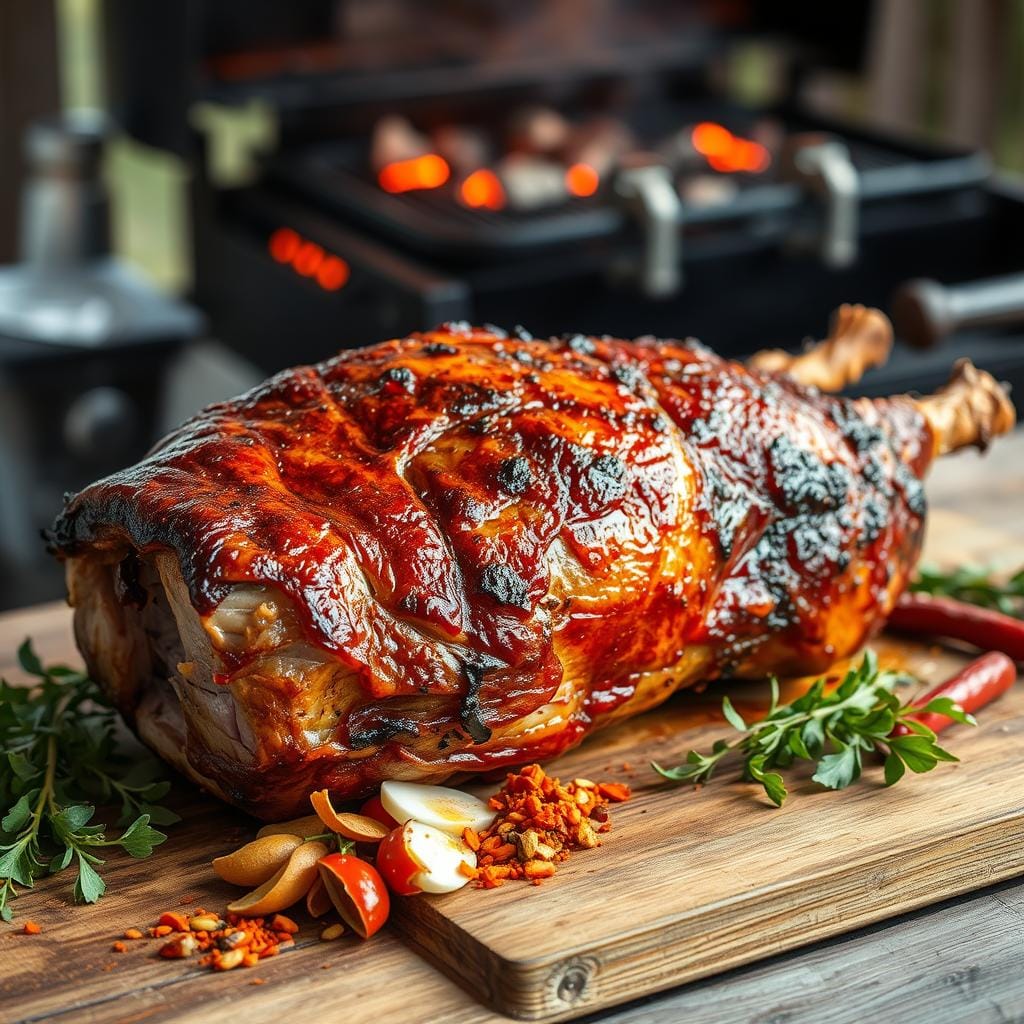
No matter your method, aim for a deep golden-brown crust. This crust will keep juices in and add amazing flavor. Always cook your roast to 145 degrees Fahrenheit for the best results.
Serving Suggestions for Smoked and Seared Roasts
Creating the perfect smoked and seared roast is more than just cooking. The right sides and sauces can make your meal unforgettable. Learning how to serve and pair your roast will make every bite a delight.
Best Side Dishes for Smoked and Seared Roasts
Choosing the right sides can turn your smoked roast into a full meal. Here are some tasty options:
- Roasted garlic mashed potatoes
- Grilled asparagus with lemon zest
- Butter-glazed baby carrots
- Wild rice pilaf
- Smoky corn on the cob
Perfect Sauces to Pair with Smoked Roast
After pan-searing your smoked roast, add these sauces for extra flavor:
- Horseradish cream sauce
- Chimichurri
- Red wine reduction
- Dijon mustard glaze
Retaining Juices in Smoked and Seared Roasts
To keep your smoked roast juicy, rest it properly. Let it rest for 10-20 minutes, depending on its size. This helps the juices spread evenly, making each slice tender.
Pan-Searing vs. Grill-Searing Smoked Meat
Choosing between pan-searing and grill-searing for smoked beef has its advantages:
| Pan-Searing | Grill-Searing |
|---|---|
| More temperature control | Adds extra smoky flavor |
| Ideal for indoor cooking | Perfect for outdoor preparation |
| Faster searing process | Creates distinct char marks |
“The secret to a perfect roast lies not just in cooking, but in how you serve it.” – Professional Chef
The goal is to enjoy the rich, smoky flavors of your roast. Make sure it’s tender and juicy for a memorable meal.
Conclusion

Your journey in searing vs. smoking roast meat ends with a big win. You learn that the secret is in the technique and what you like. Each way of mixing smoking and grilling has its own perks. These can turn a simple piece of meat into a feast for the senses.
“Cooking is an art, and meat preparation is its most delicate canvas.” – Unknown Culinary Expert
Getting great roasts is all about the finishing touches after smoking. Whether you sear before or after, the aim is the same. You want a juicy, tasty piece of meat that wows everyone.
- Try out different searing methods
- Know your meat’s special traits
- Keep an eye on the temperature
- Learn from every cooking session
Think about the cost of your meat. Affordable cuts like chuck, sirloin, or round roasts can be fancy meals with the right touch. With some effort in prep, you can make cheap cuts taste like they’re from a fancy restaurant.
| Roast Cut | Flavor Profile | Recommended Technique |
|---|---|---|
| Chuck Roast | Rich, Marbled | Slow Smoking, Post-Sear |
| Sirloin | Balanced Tenderness | Pre-Sear, Moderate Smoking |
| Top Round | Lean, Economical | Careful Cooking, Reverse Sear |
Experiment with both pre- and post-smoking searing to find what works best for your cooking style. Remember, cooking is a journey, and each attempt adds to your expertise.
Happy Cooking!
FAQs About Searing and Smoking
No, it’s not necessary, but searing adds a flavorful crust and locks in juices, enhancing the roast’s overall quality.
Searing before smoking creates a caramelized crust, sealing in moisture and adding depth to the flavor.
Yes, pre-searing is ideal for certain cuts to lock in juices and add an initial layer of flavor before slow smoking.
Post-smoking searing (reverse sear) creates a crispy, caramelized exterior while maintaining a perfectly cooked interior.
Either method works, but reverse searing after smoking offers better control over doneness and crust texture.
Use a low smoking temperature, baste periodically, and let the meat rest after cooking to retain its juices.
If smoking, sear first for a crust before slow cooking, or sear last for better control using the reverse sear method.

